Creating An Event
Creating an event is simple and intuitive. Just click the Events icon in your Dashboard menu. (It looks like a ticket.)
You can also press the "+ New Event" button on your CommitChange profile to get started.

Like with creating a campaign, you will have to enter a title, a tagline, and a short description of your event.

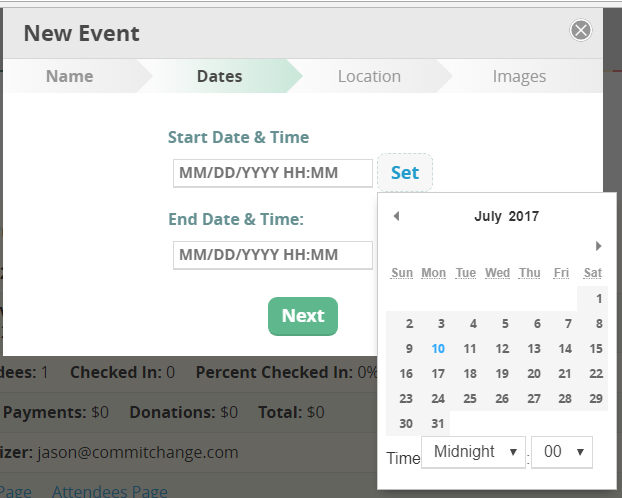
Set your start and end time for the date you select. While we don't offer a specific functionality for multi-day events, we do have places in both the event description and the donation receipt where you can leave special instructions for events that fall outside of the date/time range you specify (instructions farther down).

Set your address so that your location will show on our event mapping functionality. Any special instructions you add will show up on the guest's donation receipt.

Set your preview image (this is the image that will show up when people share on Facebook.)

Continue customizing your event through your Event Settings.

You can change the settings you have already set for your event as well as add a header image, publish your event, and hide or show information like total attendees, total money raised, and the activity feed for you event in the event settings panel.

Make sure to fill out your description on what your event and organization are about, just as you would in an invitation.

Set up your ticket levels with descriptions and any applicable ticket limits to make sure the ticketing process goes as smoothly as possible.

You can change the order of your ticket levels by clicking on Ticket Levels and dragging and dropping the levels so that they are in the order you would like them to be.

Add a special "thank you" or detailed special instructions to a custom receipt tailored specifically to your event.

If you want to allow event charges at your event (a great way to collect pledges and auction bids), tell your attendees to click on the box marked "Save this card for purchases at the event" during the final stage of the event ticket purchase.
Their information will be retained in your attendees list until you delete them after you've processed all of your event charges.
You can also use your attendees list to check in your attendees. If an attendee hasn't saved their information, you'll still be able to add their card during the event.

Visit your Event Stats page to see your donations flowing in in real time. For added value, project it on a wall at your event so your supporters can see how much of a difference they've made for your organization with their gifts.
